
How to Install a Pocket Door Handle?
time2022/09/30
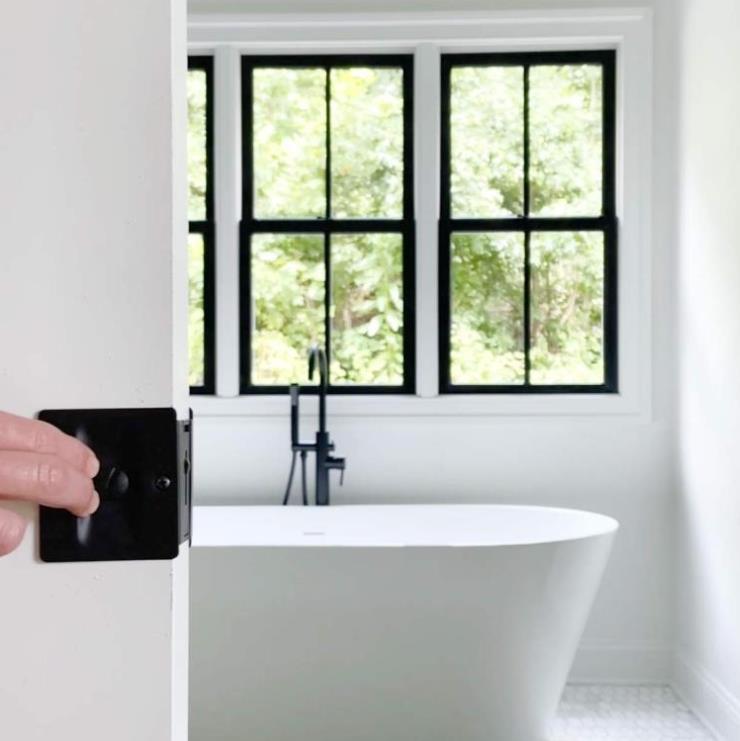
- A pocket door is a unique door option for a home that disappears as soon as the homeowner closes it. The pocket door also requires a special pull that allows you to open and close the door. Let's take a look at the steps to install a pocket door handle today.

Step 1: Gather Your Tools and Materials
Before you dive into the installation process, gather the necessary tools and materials. You'll need a pocket door hardware kit, a measuring tape, a pencil, a screwdriver, a drill, a chisel, a hammer, screws, a drill bit, and a pocket door lock.
Step 2: Measure and Mark
Start by measuring the door's thickness and the pocket depth. Use these measurements to mark the locations for the pocket door hardware components. Measure from the top of the door to the handle's center for accurate placement. Mark the positions for the latch, pull, pocket door lock, and any other hardware components you're installing.
Step 3: Prepare the Door and Door Frame
If your door doesn't have a pre-cut pocket, you'll need to create one. Measure the door opening and transfer those measurements to the door. Use a saw to carefully cut along the lines you've marked, creating the pocket for the door to slide into. Additionally, remove the drywall on the sides of the wall where the pocket door will slide. Ensure that the door frame is level and securely attached to the sides of the wall.
Step 4: Install the Track and Rollers
Attach the track to the header above the door opening using the provided screws. Ensure the track is level and load-bearing. Next, install the rollers onto the top of the door according to the manufacturer's instructions. Make sure the rollers are aligned with the track for smooth operation.
Step 5: Mount the Door
Carefully lift the door and insert the rollers into the track. Slide the door back and forth to ensure it glides smoothly along the track. Make any necessary adjustments to ensure proper alignment.
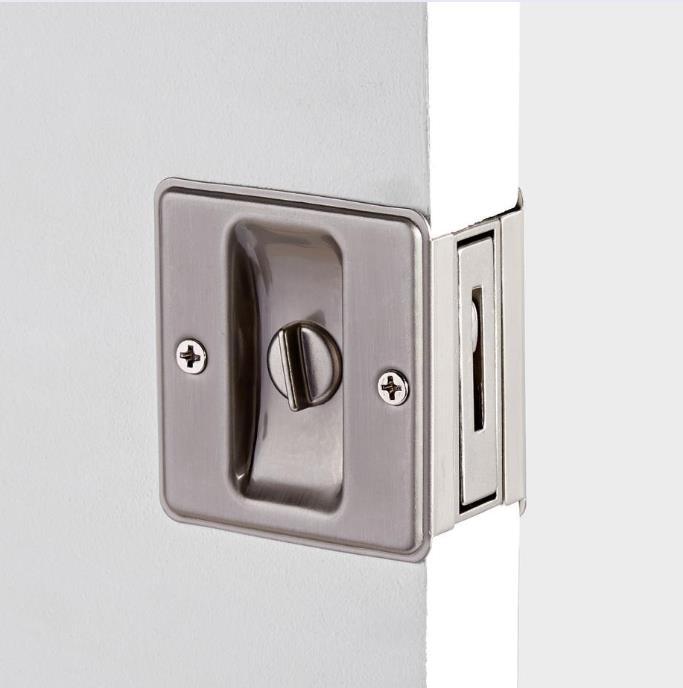
Step 6: Install the Door Pull, Latch, and Pocket Door Lock
Follow the manufacturer's instructions to install the door pull and latch. Use the provided template to mark the location for the hardware. Use a chisel and hammer to create a recess for the latch plate. Attach the door pull and latch securely using the provided screws. Additionally, install the pocket door lock and edge pull according to the manufacturer's guidelines.
Step 7: Test and Adjust
With the hardware in place, test the pocket door's operation. Open and close the door several times to ensure it moves smoothly along the track. Make any adjustments as needed to ensure proper alignment and functionality.
Step 8: Finishing Touches
Once you're satisfied with the installation, make any final adjustments and tighten all screws. Apply a lubricant to the track and rollers for optimal performance. Clean the door and hardware to remove any installation residue, and admire your newly installed pocket door!