
How to Install a Pocket Door?
time2022/10/24
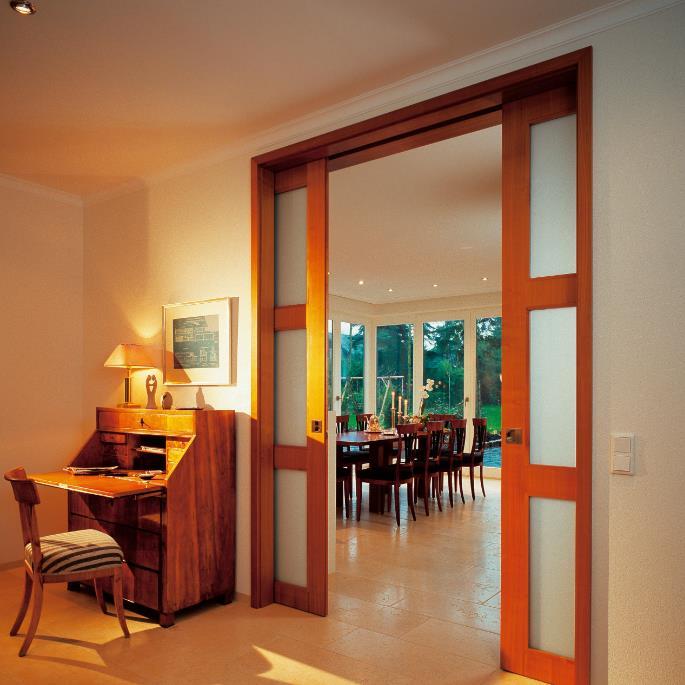
- Pocket doors are the perfect solution for adding a quick way to move from one room to another. With the right tools and expertise, you can install pocket doors yourself.
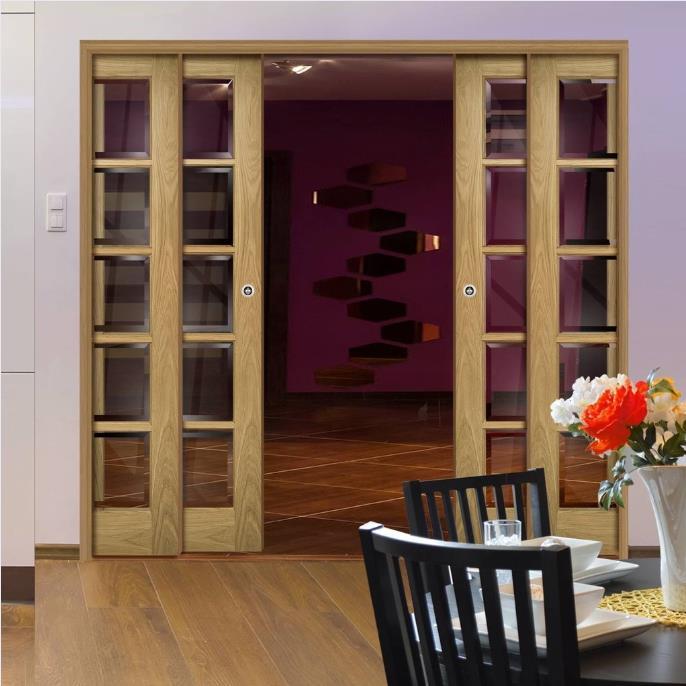
Pocket doors are the perfect solution for closing open parts of your home or office or adding a quick way to move from one room to another. Rather than taking up space in one room or another, these doors disappear into the wall when opened. With the right tools and expertise, you can install pocket doors yourself, avoid the hassle of hiring a contractor, and participate in the design of your own home.
Part 1: Make room for your pocket door
1. Buy pocket door hardware at a hardware store
The kit should contain the door, breakaway studs that allow the door to retract into the wall, rails to allow the door to enter the wall, and door hardware. Most are under $100.
You can also find pocket doors at lumber mills. Wherever you go, you should easily find door kits ranging from 1 1/8 inches to 1 3/4 inches thick and 6 feet (1.8m) tall by 8 inches. If your door is not a standard size, consult a professional to get the job done.
2. Check the walls
The last thing you want to do is rip a hole in the wall, only to find that putting a door in there won't work. Before drilling and removing, check the following:
Check that there is enough space on the wall. You only need twice the width of the door (so it can be hidden).
Check if the walls are load-bearing or just partitions. If it's load-bearing, you'll need a new head and a means of temporary support while the door is working.
Check wiring or plumbing. A wall with plumbing is not a good place to put a door. Wiring can be easily detected using inexpensive voltage sensors.
3. If applicable, remove existing doors
If you are replacing the door with a pocket door, you will need to get rid of the existing door. Start by removing the mold and use a reciprocating saw to cut the spacer. Once the nails are cut, it's time to remove the door frame.
The door frames are not nailed to the studs in the wall - they are just separated by wooden spacers.
4. Remove the plasterboard on one side of the wall
Do this slowly to make sure you don't miss any obstacles inside the wall. Remove the drywall a few inches above the top, but not all the way to the ceiling - it just means more work later.
5. Carefully cut exposed studs
This makes room for a new frame. You may find this step easier if you use a combination of a circular saw and a small handsaw; you don't want to accidentally damage an uncut wall. The goal is to leave a hole large enough in the stud for the pocket door to pass through.
Standard pocket doors are 1.75" (4.4cm) wide. To make this step easier, look for pocket door kits with split studs.
Part 2: Assembling the door and hardware
1. If necessary, create a new title
Your door may require headers of different heights. Header height depends on whether a new base plate is required. If there is a little floor covering above the subfloor, the split bolt brackets can be attached directly to the floor. To determine the head height for most standard kits, calculate the length of the new door, add 3 1/4", and the height of the base plate if any. Once the proper length is determined, install this from the existing bolts Lengths of the new bolt studs are on the opposite side. Nail the new heads in place (or screws), then cut and install the base plate to the floor.
To adjust the joint, use a reciprocating saw to remove the partition joint that is currently in place. Then, cut out the studs like the above to make room for the frame.
Cut the nails between the studs and the base plate, then determine the desired header height before cutting the tops of the studs to length. Otherwise, you may end up with a frame that is not the right size.
2. Install the slider track
Your pocket door kit should include rails for the door to slide into the wall. Install the slide rails using the instructions included with the pocket door kit, and screw the brackets into the studs. If you are also installing pre-split studs, you can install them after the slider rails are installed.
If you need to cut the track to length, use the mark that corresponds to your door size. Most, if not all, kits carry these markings. Use a hacksaw on the channel and a handsaw on the nail gun.
Make sure your track is level. If not, it won't slide in and out of the pocket as easily.
3. Put the hardware and door into the slider track
Make sure the door slides easily and stays level. Install a coat hanger on the top of the door - this is how the door slides. Then, slide the wheel carrier into the track. Hang the hanger on the carriage. Once it's all set, adjust the assembly until the door hangs vertically and is in place.
Part 3: Completing the project
1. Replace the drywall you removed at the beginning of the project with new drywall
For this part, you will need panel adhesive and screws. But don't record and mix just yet - there's more work to be done.
2. Install the latch hardware
Pocket door kits should come with door-locking hardware. Some of these will be attached to the door and some will be attached to the wall. Follow the instructions that came with the pocket door kit. Make sure the door still slides easily on the track and that the latches line up as needed.
3. Complete the installation of gypsum board
At this point, you can tape the drywall. Apply a generous amount of drywall compound, aiming to apply multiple layers to each joint. Insert a tape into it, then remove any excess compound. Let it dry, sand it, and use the same method to apply the next layer of the compound as needed.
When you're done, sand the drywall so it's finished and smooth.
4. Paint or otherwise decorate the walls as you see fit
The hard part is done - all you have to do now is restore the wall to its original (or new and improved) state.
Do this before installing the door trim unless you also want to paint the door trim. This way, if your lines are not perfectly straight, trimming will directly cover them.
5. Install the door trim
Decorative hardware should be in your pocket door kit. Install according to pocket door kit instructions. Nail or screw it to door frames and door nails.
So! Your pocket door is officially live and looks like it was professionally installed.
The steps for installing pocket doors are detailed above. If you want to buy pocket doors and pocket door kits, please contact us.
Wekis is a professional custom sliding door hardware manufacturer. For 18 years, we have been focusing on the research and development, design and manufacture of furniture hardware and sliding door hardware. The 10,000-square-meter factory has automated production lines including a laser cutting center and a robotic welding center. We provide professional customized solutions for various hardware products to customers from all over the world.